1911 Pistol Cleaning Tips
Keeping your 1911 pistol clean and properly lubricated is an important step in maintaining the integrity of the gun. This can be a difficult process to understand.
Before beginning the cleaning process, read your owner’s manual for specific disassembly, reassembly and lubrication procedures. Next, depress the recoil spring plug and rotate the barrel bushing to align its tab with the opening beneath it.
Clean the Frame and Slide
The 1911 pistol is one of the most iconic firearms ever to see service. Almost a century after its debut the gun still finds plenty of use among soldiers, police officers and civilian shooters alike. The 1911 needs regular cleaning and maintenance to keep it working correctly and safely. Fortunately, there are some simple things you can do to make the process quick and easy.
The first step is to unload the weapon and verify that it is empty. The 1911 also requires that the magazine be removed and that the slide stop be pushed inward. This allows you to remove the recoil spring and guide rod assembly from the slide.
After the slide and recoil spring have been removed you should wipe down the exterior and interior of the slide with a soft cloth or rag soaked in gun solvent. Then, a light coating of lubricant can be applied to the parts using cotton swabs or Q-tips dipped in cleaner.
It is important to remember that each part of a 1911 is designed to fit and function together properly. As such, it is vital that you take the time to understand how each part fits before attempting to put it back together. Failure to do so can result in a number of issues including the “idiot scratch” which is a small, curved mark that appears from the slide stop towards the triggerguard.
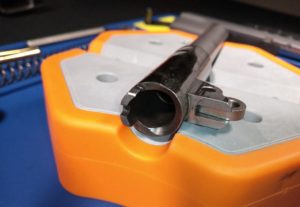
Clean the Barrel
The barrel is the most critical part of your 1911 pistol. It has to work flawlessly in life-or-death situations. Taking the time to clean and lubricate it will make sure that happens.
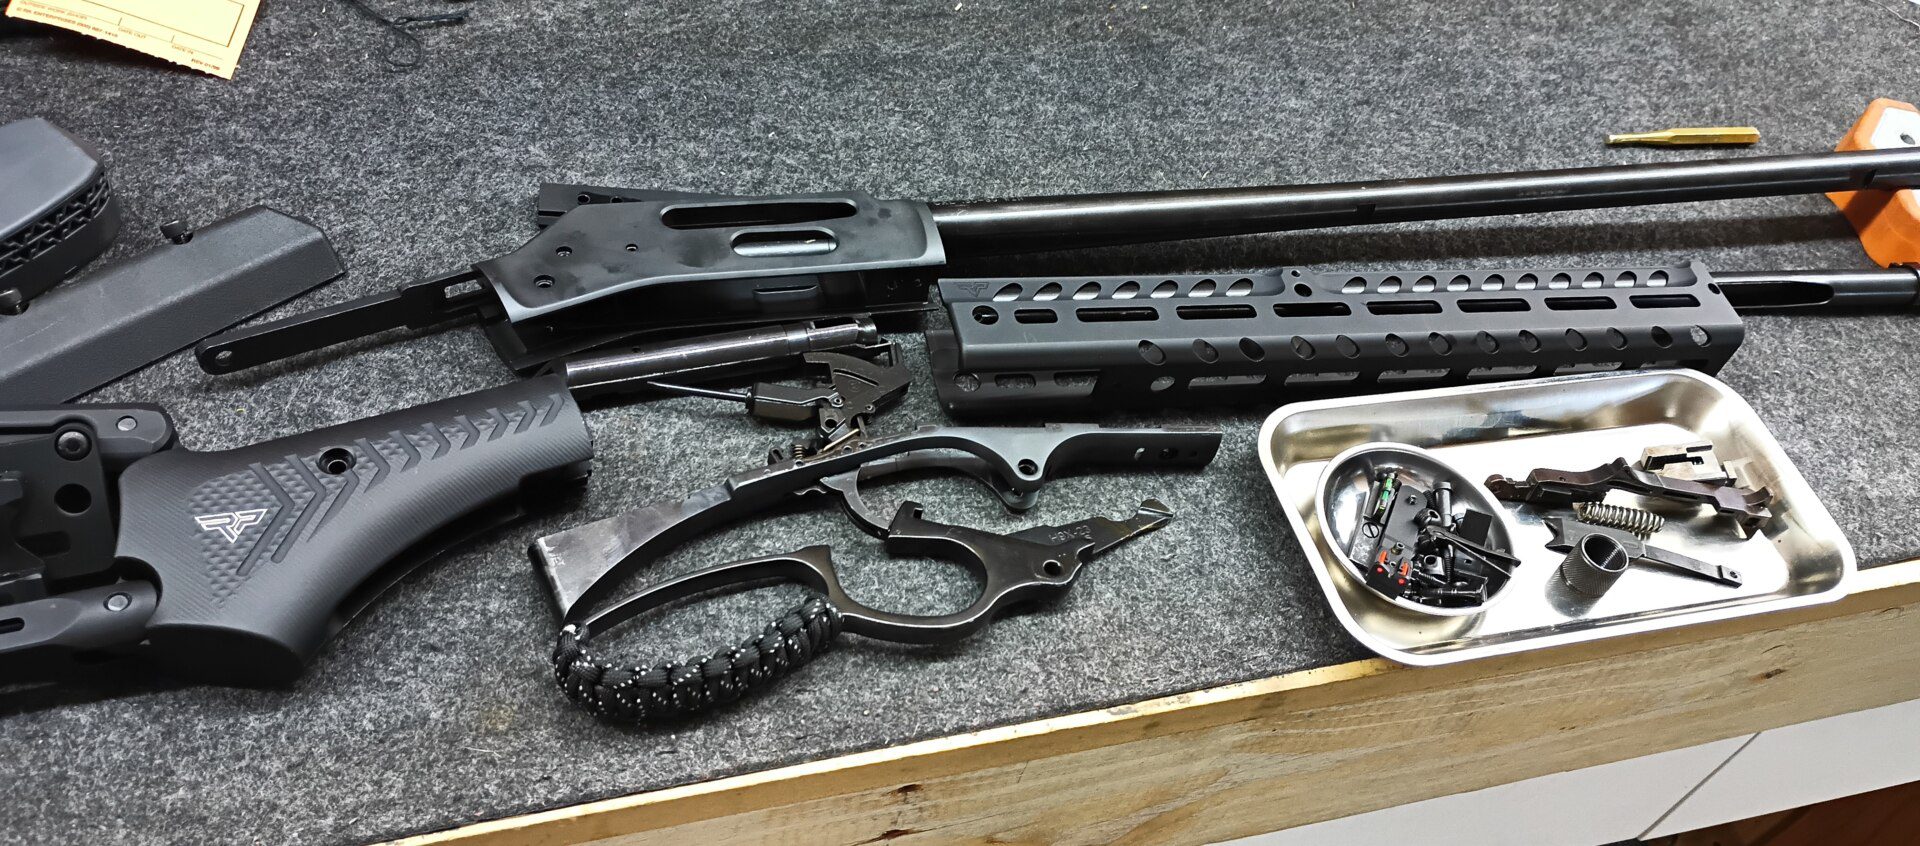
First, remove the slide and recoil spring from the gun. Then, follow the field-stripping steps in your owner’s manual to disassemble, or “field strip,” the gun. You may be surprised that the gun does not need to be completely taken apart.
Once the slide is removed, use a plastic brush dipped in cleaner (Remington suggests their Rem Action Cleaner; I prefer SEAL 1 CLP Plus or Liquid) to scrub the rails and bushing on the slide. You will also need to scrub the breach face and slide release. Once everything is cleaned, wipe it dry.
Next, use a soft rag to wipe the barrel with a solvent-soaked cleaning patch. Then, apply a light coating of lubricant to the barrel. After that, use a contact cleaner to remove any powder residue from the inside of the barrel. Finally, lubricate the barrel bushing and any other metal-to-metal surfaces on the frame that will touch the barrel when the pistol is in use. After applying the lubricant, work the slide back and forth to distribute the lubricant and test the gun for basic function. Repeat this step for the recoil rod and guide rod if necessary.
Clean the Slide Stop
The slide stop is the part that allows the pistol to be racked to load another round. The slide stop needs to be clean, otherwise it can become a source of gun lubricant and fouling, which will prevent the 1911 from being fully functional and will ultimately reduce its life. To clean the slide stop, start by removing the recoil spring guide rod and the slide lock lever.
Next, push back the slide until you can see a small notch (slightly farther back than the slide lock notch) over the slide release lever. Now you can remove the recoil spring and the barrel bushing. The barrel bushing has a tab on it that matches in size perfectly with an opening at the bottom of the frame, and this alignment is what makes it possible to pull the bushing out of the barrel.
Using a rag and some solvent, wipe away carbon fouling around the front of the slide and on the forward rails. Then, using a barrel bushing wrench (or your fingers), depress the plug and rotate it clockwise about 1/4 of a full turn until the tab engages with the opening in the frame. Now you can remove the barrel bushing, recoil spring plug and barrel.
Guns have extremely precise tolerances; if you over-clean your 1911, the internal dimensions will change by thousandths of an inch, which could affect accuracy and functioning life. With these tips, you can keep your 1911 pistol in top condition and use it for decades to come.
Clean the Triggerguard
Unless you are very careful and deliberate in your work, this may be the most difficult part of the 1911 to clean. Screws in this area are often different sizes and only fit a certain way, and with age even screws of identical size can become a bit looser. This is also a very sensitive part of the gun, and its small spring (which is under considerable pressure) can fly free at any time.
For this reason, it is especially important to keep the pistol on a safe and sturdy surface while working to remove these screws. It is also a good idea to lay the screws out on your mat in specific order, as this will help you to ensure that when they are removed and replaced they go back into the same exact position they came from. This will make reassembly much easier and less stressful on the trigger assembly.


